When working as part of a team of editors, you will not win any friends if your working method lacks the discipline of a well-seasoned librarian.
A long-form project may contain days worth of material that will be impossible to wade through unless some sort of order is applied to the project. Imagine walking in to a busy office where stacks of documents are scattered about the room in a hap-hazard fashion, with no logical filing system in place, or a library where books are placed on shelves in random order. It would take forever finding the book or document that you need. Totally unworkable.
There are some golden rules of file management that apply to working with projects whether you are in a video edit suite or working on a Digital Audio Workstation. The principles are similar for each discipline.
Rule #1 is to keep the project file separate from the media.
This rule has its origins when everybody edited on stand-alone workstations with built-in floppy disc drives and external hard drives. It isn't quite so important when editing on big servers in post-production houses but still applies to working in the field on laptops, or for the corporate producer sat at home editing on a basic PC or Mac work-station.
IT media servers have built in redundancy such that, should a hard drive fail, it is a simple procedure to rescue all the data. Not so, with your laptop or single external hard drive. If the drive dies, it takes all your media and project with it, leaving you looking for a new job, or facing a nice fat legal bill. In the old days of tape, the solution was to back up the tiny project file on to a floppy disc so that if the media drive failed we could recapture the media from the original tapes and rebuild the whole project from the backed-up project file.
Rule #2 is to back up the project file on a regular basis. - You don't need loads of different copies, just one most recent back-up. At the end of each edit session it is a simple matter of saving the project and then copying this to a memory stick or even an SD or CF card
Rule #3 is to create a folder called FCP Projects, Avid Projects, Premiere Projects or whatever depending on what software you are using, and keep ALL your project files in it and ONLY your project files in it. Project files are NOT media files. Project files are only a few kilobytes in size and contain data that points to all your media files. Whenever you need to open a project, you can go straight to the FCP/Avid/Pemiere Projects folder and find it within seconds rather than spend hours searching you whole hard drive for that folder whose name you have forgotten.
Rule #4 is to create a folder in which to store any non-camera media that is to be imported into the project. This is used for music files, sound effects, imported graphics and stills but not for video footage that will be captured directly from tape or card by the edit application itself.
FCP creates a folder called Final Cut Pro Documents inside which it creates other folders for Capture Scratch, Render Files and Audio Render Files. If you create an additional folder inside Final Cut Pro Documents and call it Miscellaneous, this will serve as a central location in which to store any stills and audio files that you want to bring into the project. This will prevent that commonly seen disaster - "The Mystery of the Disappearing Files".
I have seen so many problems caused by missing imported media because the word "Import" on a MAC does not mean the same as "Import" on a PC. In Mac-speak, the word "import" actually only means "Link to", so when you eject that memory stick and give it back to the photographer, all the photos that you thought you imported are actually back on the train to some far away distant place rather than on your hard drive. Joy!
The beauty of creating this Miscellaneous folder is that you only have one central place in which to search for your imported media.
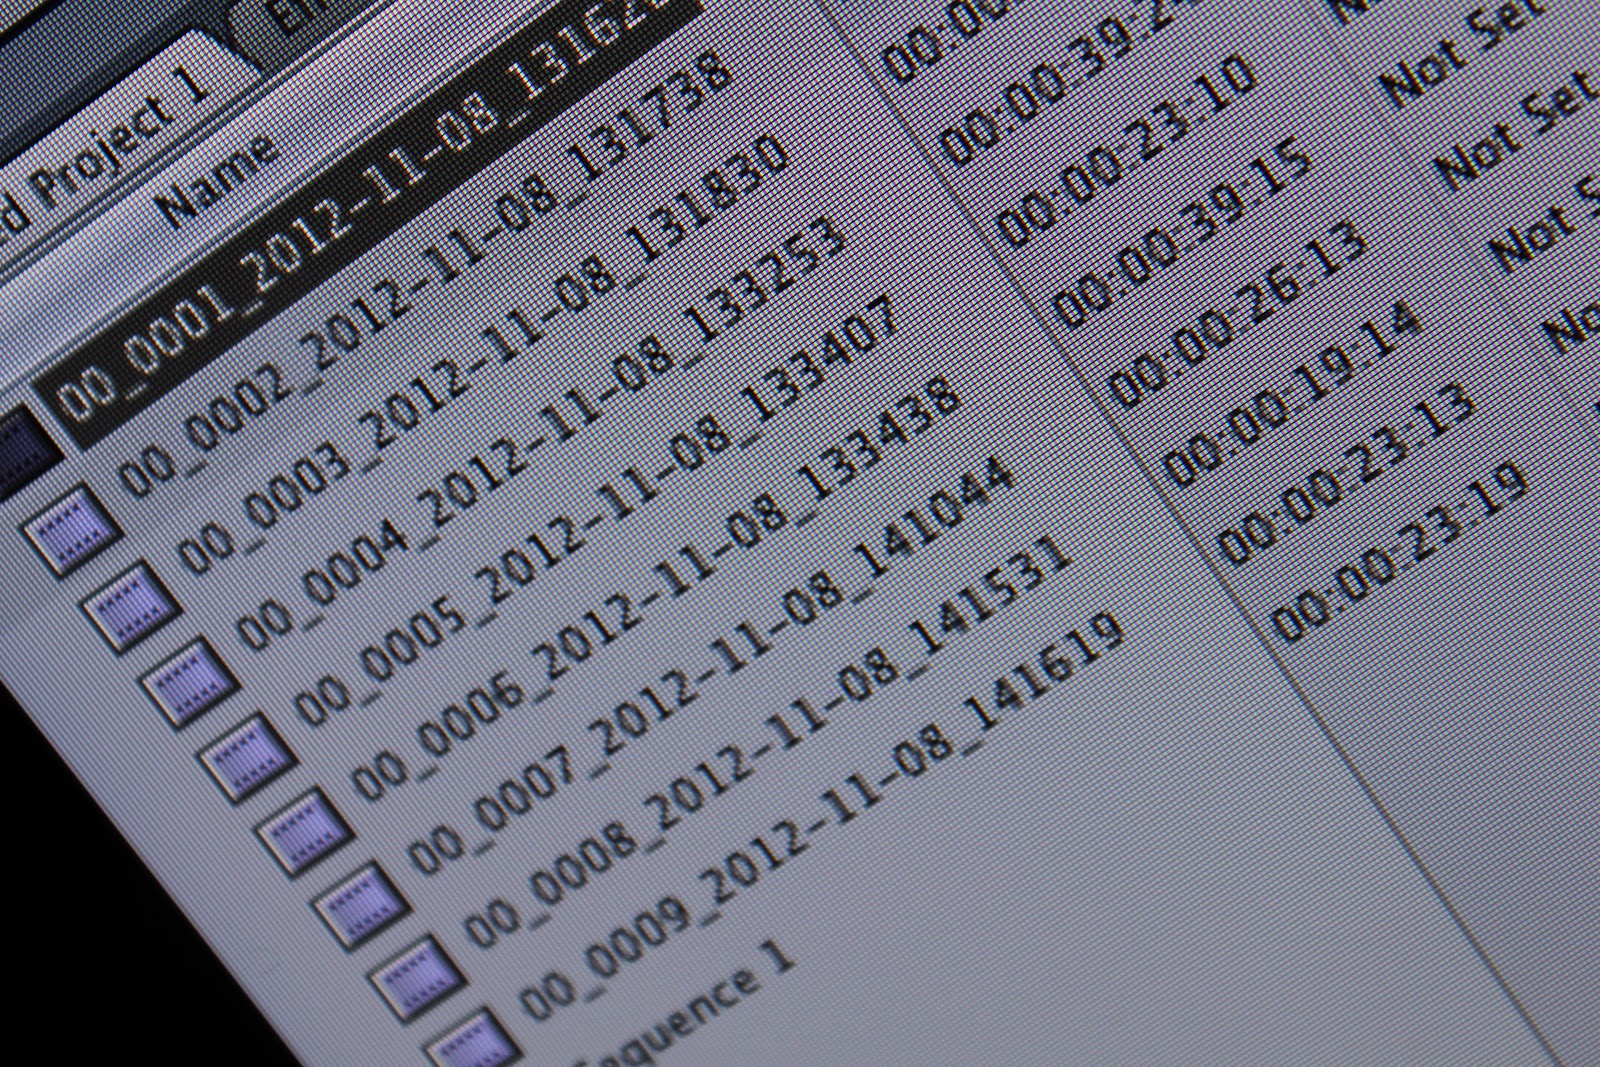
Rule #5 is to create bins within the edit application in which to store media in a logical fashion and utilising naming conventions that can easily be understood by other members of your editing team.
You should always create a bin called "Sequences" and use it to store ALL your sequences. Naming the other bins is largely a matter of personal choice and is largely dependent on the type and size of the project that you are working on. Generally, I create bins called Music, Sound FX, Graphics, Stills and then a whole rake of bins for the video footage called Day 1, Day 2, Day3 or Tape 1, 2, 3 or use a naming convention based on location, scene number in the case of a drama production, or interviewees name if working on a documentary.
Rule #6 is to avoid using the same sequence for the whole project. Doing so, means that you are constantly burning your bridges behind you, and when you realise that the sequence that you edited last week was better than the one that you are currently editing......Ouch! There's nothing that you can do about it.
I generally start by editing a sequence that I call RC1 (short for Rough Cut 1). When I break for lunch or finish for the day, I will duplicate that sequence, load that into the timeline and rename it "RC2". By continuing in this manner, it is easy for myself or anybody else taking over the edit job, to find the latest version, and also be able to go back to a previous version if needed.
Rule #7 is to avoid creating messy timelines and the best way to avoid the problem in the first place is to learn three-point editing rather than drag-and-drop methods. Drag-and-drop is great for throwing something together quickly, but lacks the finesse and precision that three-point editing offers. I would never use drag-and-drop to edit drama.
For most timelines you only need two video tracks and four audio tracks. Video 1 is where the clips go, Video 2 is for superimposed graphics, Audio 1 is for ambience, Audio 2 for dialogue/narration and Audios 3 and 4 are for stereo music left and right. Video 2 is also useful for picture in picture or chroma key effects. Unless you are doing complicated multi-layered effects you don't need loads of video tracks. Similarly, you don't need loads of audio tracks as a rule. Obviously there will be exceptions but the overlying principle is to have as few tracks as possible and for each track to be dedicated to a specific purpose. Working with messy timelines costs time and money when it comes to re-working a finished piece such as when you want to provide a "clean" edit for a client or an alternative language version for foreign distribution. (N.B. A "clean" edit is a version without music or graphics.)
Try to think of your computer as if it were a library, and consider how you could organise a library filing system in such a way that a complete stranger would find it easy to understand and navigate towards the information that they need. Keep it simple and logical and you will work much more efficiently.
No comments:
Post a Comment